DIY Vital Wheat Gluten: Save Money & Improve Dough Elasticity
Have you ever gazed longingly at artisanal loaves of bread with their perfect chew and airy crumb, or dreamt of crafting your own robust plant-based proteins at home? Many home bakers and culinary adventurers turn to vital wheat gluten (VWG) for these very reasons. However, this powerhouse ingredient can often be elusive in regular supermarkets and carry a hefty price tag at specialty stores. What if we told you that the secret to unlocking superior dough elasticity and creating versatile plant-based meals could be found right in your pantry?
Indeed, the recent surge of "flour washing" videos across the internet has illuminated a fascinating and surprisingly simple process: learning
how to make vital wheat gluten and wheat flour starch from scratch using just flour and water. This comprehensive guide will walk you through the steps, reveal the science, and provide valuable tips to help you save money, enhance your baking, and explore new culinary horizons.
What Exactly is Vital Wheat Gluten (and Why Make It)?
Vital wheat gluten, often simply called "wheat gluten" or "wheat protein," is essentially a super-concentrated form of the protein found in wheat flour. While regular wheat flour contains gluten along with starches and other components, vital wheat gluten has had almost all of its starch content removed, leaving behind a highly potent protein powder.
The magic of gluten lies in its ability to form an elastic network when hydrated and kneaded. This network traps gases, allowing doughs to rise, and contributes significantly to the chewiness and structure of baked goods. When you add a small amount of vital wheat gluten to a recipe, you're boosting the dough's inherent protein content, resulting in:
*
Improved Dough Elasticity and Strength: Essential for stretchy pizza doughs, robust artisan breads, and light, airy pastries.
*
Better Crumb Structure: Leading to a more open, desirable texture in breads.
*
Increased Chewiness: Perfect for bagels, hearty sandwich breads, and even pasta.
*
Enhanced Rise: Especially beneficial for whole grain flours, which tend to be heavier.
Beyond baking, vital wheat gluten is the primary ingredient in seitan, a popular plant-based meat alternative known for its remarkably meaty texture. Whether you're a vegan looking to craft homemade seitan or a baker aiming for the perfect loaf, understanding
how to make vital wheat gluten and wheat flour starch at home is a game-changer.
One of the most compelling reasons to make it yourself is the cost. Store-bought vital wheat gluten can be quite expensive, and often comes in small quantities. By starting with a bag of ordinary high-protein flour, you can produce a significant amount of VWG for a fraction of the price. Plus, you get a valuable byproduct: wheat flour starch, which has its own array of culinary uses, turning a potential "waste product" into a dual-purpose endeavor.
The Science Behind the Flour Washing Method
The process of separating vital wheat gluten from flour is elegantly simple, relying on the fundamental properties of its components. When wheat flour is mixed with water, the proteins (glutenin and gliadin) combine to form gluten. This gluten network is *water-insoluble*, meaning it doesn't dissolve in water. In contrast, the starch components of the flour *are water-soluble* and will readily dissolve and wash away.
By creating a stiff dough and then repeatedly rinsing and kneading it under cold water, you are physically separating these two components. The soluble starch particles are carried away with the cloudy water, while the robust, elastic gluten mass remains behind. This ingenious method is precisely what we'll use to achieve our homemade vital wheat gluten.
Essential Ingredients and Tools for Your DIY Project
The beauty of making vital wheat gluten and wheat flour starch at home lies in its minimal requirements.
What You'll Need:
1.
High-Protein Wheat Flour: This is the most crucial ingredient. Aim for flour with at least 10% protein content, though higher percentages (like bread flour, which often has 12-14% protein) will yield more gluten. All-purpose flour can work, but your yield might be slightly lower. Whole wheat flour can also be used, potentially adding a nuttier flavor.
*
Example starting amount: Approximately 21 oz (600g) of high-protein white flour.
2.
Cold Water: Tap or filtered water is perfectly fine. Cold water helps keep the dough firm and minimizes stickiness during the washing process, making it easier to handle.
*
Example starting amount: Approximately 14 oz (400g) of cold water. The exact amount will depend on your flour's absorption.
Basic Equipment:
*
Large Mixing Bowl: For creating the dough.
*
Stand Mixer (Optional): Can make the initial kneading easier, but hand-kneading is perfectly effective.
*
Large Container or Bowl: For washing the dough. A deep bowl or even a clean sink can work.
*
Colander or Sieve: To drain the starch water and collect the gluten mass.
*
Fine-Mesh Sieve (Optional): For collecting the starch sediment more cleanly.
*
Airtight Containers: For storing the wet gluten and collected starch.
*
Dehydrator or Low-Temperature Oven (Optional): If you plan to dry and powder your vital wheat gluten.
Step-by-Step Guide: How to Make Vital Wheat Gluten and Wheat Flour Starch
This process is straightforward but requires patience. Remember, you're not just making one ingredient but two!
Step 1: Create a Stiff Dough
1.
Combine Flour and Water: In your large mixing bowl, gradually add the cold water to the flour. Mix either by hand or using a stand mixer with a dough hook until all the flour is hydrated and a stiff, shaggy dough forms.
2.
Knead the Dough: Knead the dough vigorously for 8-10 minutes. The goal is to activate and develop the gluten strands as much as possible. The dough should become smooth and elastic. If using a stand mixer, ensure it's stiff enough not to climb the hook.
3.
Rest the Dough: Cover the dough with a damp cloth or plastic wrap and let it rest for a minimum of 30-60 minutes at room temperature. This resting period is crucial as it allows the gluten network to relax and fully develop, making the subsequent washing process much more efficient. The dough will likely feel very sticky after resting – this is completely normal.
Step 2: Wash the Dough (Separating Gluten and Starch)
1.
Prepare Your Washing Station: Fill a large container or bowl about two-thirds full with fresh, cold water. Place your dough into this water bath.
2.
Initial Wash: Begin to gently knead and squeeze the dough under the water. You'll immediately notice the water turning cloudy and milky – this is the starch dissolving and washing away. Try to keep the dough in one cohesive mass as much as possible during this initial stage.
3.
Collect Starch Water: After a few minutes, carefully pour the milky water into a separate bowl or container. This liquid contains your valuable wheat flour starch. Do not discard it!
4.
Repeat Washing: Refill your washing bowl with fresh cold water and continue kneading and squeezing the dough. Repeat the process of washing and collecting the milky water. As you progress, the water will become less cloudy with each wash, and the dough will become smaller, more rubbery, and increasingly elastic.
Step 3: Refine the Gluten
1.
Continue Rinsing: Keep washing the gluten mass under fresh, cold water until the water runs mostly clear. This might take 8-15 washes, depending on your flour and thoroughness. You'll be left with a dense, highly elastic, and somewhat yellowish mass – this is your vital wheat gluten!
2.
Final Squeeze: Gently squeeze out any excess water from the vital wheat gluten. It should feel firm and very stretchy.
Step 4 (Optional): Drying and Powdering Your Vital Wheat Gluten
While the wet gluten is perfect for making seitan immediately (and you can learn more about that process in our guide on
Mastering Vital Wheat Gluten & Starch: The Flour Washing Guide), you might want to dry it for long-term storage and use in baking.
1.
Prepare for Drying: Tear or cut the wet gluten into small, thin pieces to facilitate even drying.
2.
Dehydrate: Spread the pieces on dehydrator trays and dry at a low temperature (around 105-115°F / 40-45°C) until completely brittle. This can take 8-12 hours or more. Alternatively, you can use your oven at its lowest setting, propping the door open slightly, but keep a close eye on it to prevent cooking. Air drying in a warm, dry, well-ventilated area is also possible but takes longer.
3.
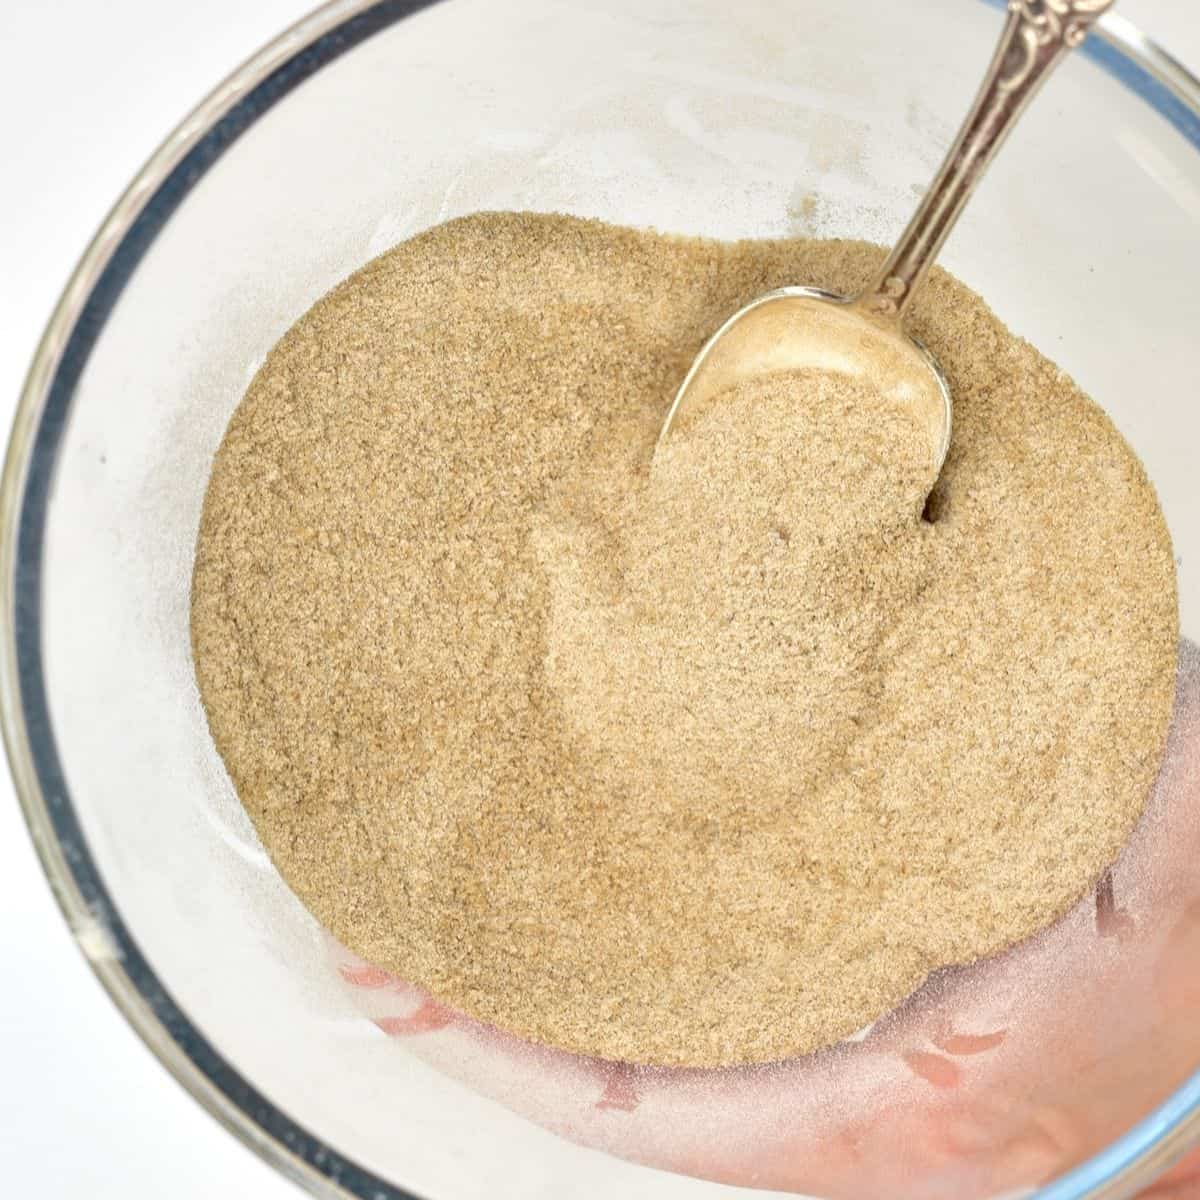
Grind into Powder: Once thoroughly dry and brittle, transfer the pieces to a high-speed blender, food processor, or coffee grinder. Process until you have a fine powder.
4.
Store: Store your homemade vital wheat gluten powder in an airtight container in a cool, dark place. It can last for several months.
Step 5 (Optional): Processing Your Wheat Flour Starch
Don't forget the starch water you collected! This is a fantastic byproduct.
1.
Settle the Starch: Allow the collected milky water to sit undisturbed for several hours (or overnight) in the refrigerator. The starch particles, being heavier, will settle at the bottom of the container.
2.
Decant: Carefully pour off the clear or slightly yellowish water from the top, leaving the white, pasty starch sediment at the bottom.
3.
Dry the Starch: You can either use the starch as a paste (like for making noodles, which is detailed in our article
Make Vital Wheat Gluten & Starch from Just Flour & Water) or dry it into a powder. To dry, spread the starch paste thinly on parchment-lined trays and air dry or use a dehydrator/low oven until brittle.
4.
Powder (Optional): Once dry, break it up and grind into a fine powder.
5.
Store: Store dried wheat starch in an airtight container.
Beyond the Basics: Tips for Success and Troubleshooting
*
Flour Quality Matters: The higher the protein content of your starting flour, the higher your yield of vital wheat gluten will be. Don't skimp on a good quality bread flour if you're serious about this project.
*
Cold Water is Your Friend: It keeps the dough firm, making it easier to handle and preventing it from becoming a sticky, unmanageable mess.
*
Patience During Washing: Don't try to rush the washing process. Gentle, consistent kneading and regular water changes will yield the best results.
*
Don't Over-Knead Wet Gluten: Once the starch is mostly gone, over-kneading the raw gluten can make it overly tough.
*
Storage: Wet vital wheat gluten can be stored in an airtight container in the refrigerator, submerged in a little water, for 3-5 days. For longer storage, freeze it. Dried, powdered vital wheat gluten lasts much longer.
*
Expect Shrinkage: It's normal for the gluten mass to shrink significantly during the washing process. You're removing a lot of bulk (the starch).
Unleashing Your Homemade VWG: Uses and Applications
Now that you've mastered
how to make vital wheat gluten and wheat flour starch, how can you put your homemade ingredients to good use?
Uses for Homemade Vital Wheat Gluten (Wet or Dry):
*
Seitan: The most popular application! Use your fresh, wet vital wheat gluten to make delicious, versatile seitan. It can be simmered, baked, fried, or grilled and easily takes on flavors.
*
Baking Booster: Add 1-2 teaspoons of powdered vital wheat gluten per cup of flour in recipes for bread, pizza dough, or even muffins. It significantly improves texture, elasticity, and rise, especially when working with whole grain or low-protein flours.
*
Vegan Meatballs or Burgers: Incorporate wet gluten into plant-based patties for a chewier, meatier texture.
Uses for Homemade Wheat Flour Starch:
*
Noodles: Wheat starch is a traditional ingredient for making various types of chewy, translucent Asian noodles.
*
Thickener: Use it as a natural thickening agent for sauces, gravies, and soups, similar to cornstarch.
*
Crisping Agent: A light dusting can create a crispier coating for fried foods.
*
Binding Agent: Can be used in small amounts to bind ingredients in some recipes.
Conclusion
Learning
how to make vital wheat gluten and wheat flour starch at home is more than just a culinary trick; it's a step towards greater self-sufficiency in the kitchen, a fantastic way to save money, and an opportunity to elevate your baking and plant-based cooking. The process is straightforward, requires minimal special equipment, and yields two incredibly versatile ingredients. So gather your flour, roll up your sleeves, and prepare to embark on a rewarding DIY journey that will change the way you think about wheat flour forever.